

Chickens
How to Build a Chicken Coop from Scratch

Sep
Regardless of the available space you have outdoors or in your backyard, it is always possible to raise birds that lay fresh and nutritious eggs. As long as you have a poultry raising plan ahead and all the practical information needed, then for sure, raising chickens will be as easy as pie.
But, before you start your journey on the road to poultry raising success; you have to know the basics of building a chicken coop.
Have an Attainable Plan
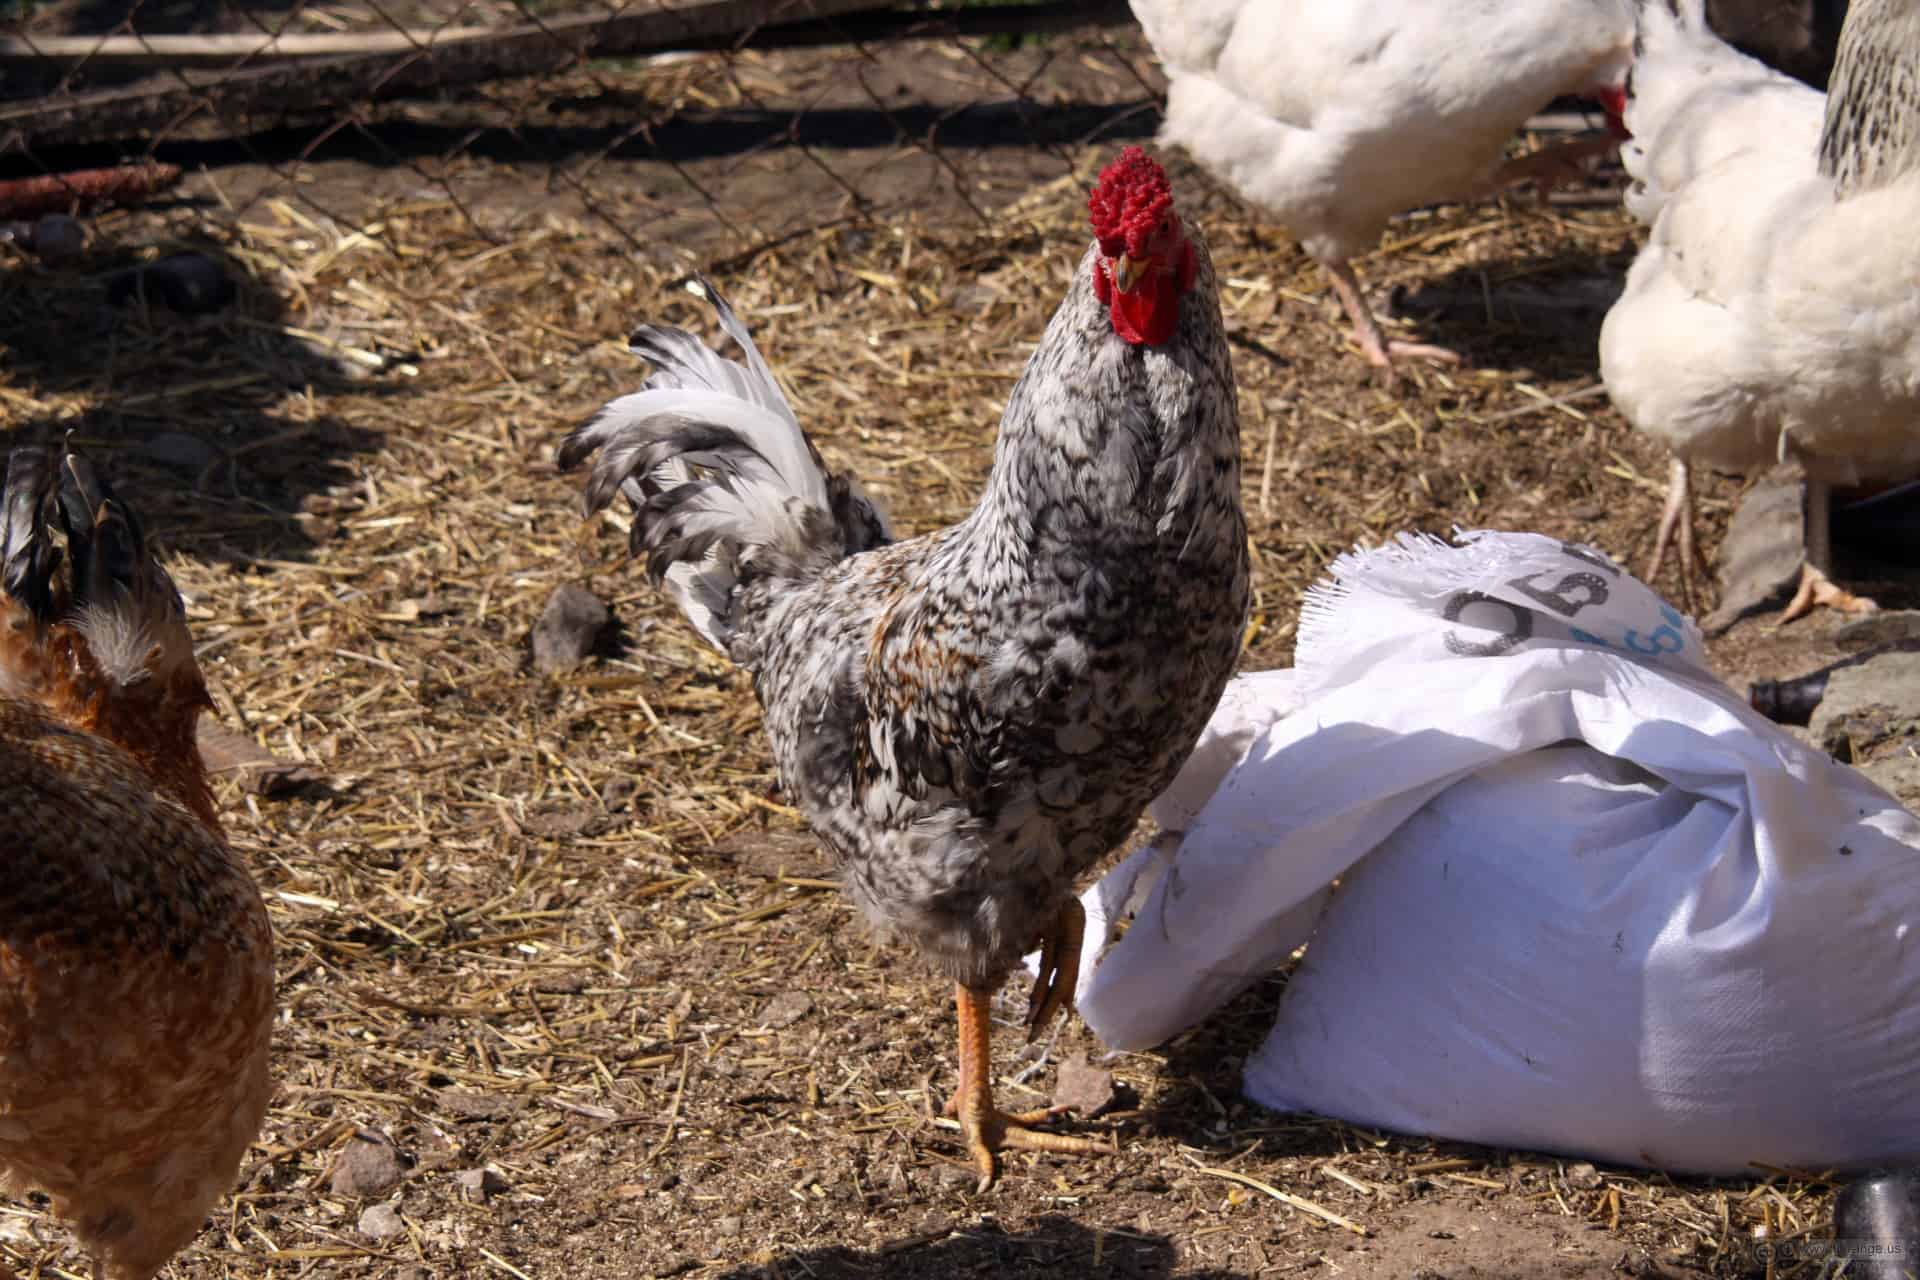
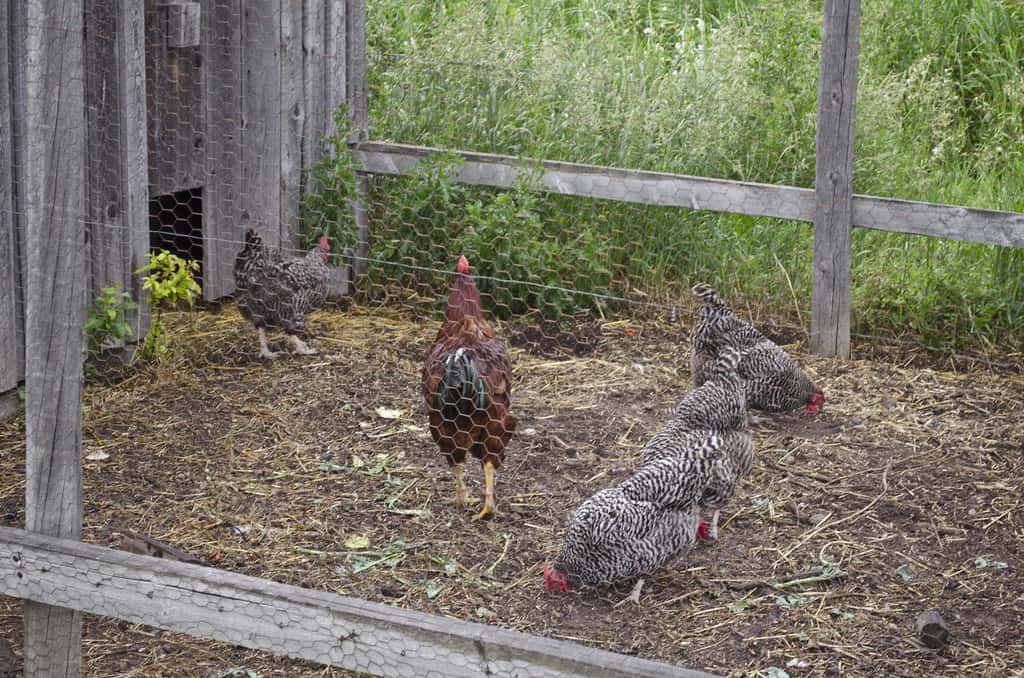
The very first thing you need to consider when building a coop is the size. Ideally, every bird placed inside a coop must have a minimum area of 2 to 3 square feet. But, just like humans, these creatures must also have extra space because when they are always kept in tight places at all times, they are prone to squabbling and fighting.
Also, chickens need to be protected from direct sunlight, especially during the hottest part of the day. Therefore, it is advised to position the coop near a large, deciduous tree that can provide sufficient shade. However, if a large tree is not available, you can always create an artificial shade using cloth.
Gather Every Possible Material Needed
The tools needed in constructing a chicken coop vary depending on the kind of coop you are trying to build. But most certainly, the materials below will all come in handy:
· Safety Gears
When you’re constructing anything, you must never forget to work with protective gears, such as goggles and gloves. These are every handyman’s most valuable items as it keeps them safe all the time and it prevents them from incurring injuries.
· Tape Measure
A tape measure that measures at least 10 feet long may also be useful in the process. This will make it easy for builders to compute and determine the height and width of a certain material.
· Drill
A drill will always be useful when creating holes. If you’re using a cordless drill, make sure you have a spare battery with you so that you can still keep moving without having to worry about power disruption.
· Hammer
Even if you’re thinking about using screws all throughout the coop, a hammer will always be of great use. You’ll probably need it when knocking boards into position.
· Tin Snips
Every chicken coop always has some kind of a wire mesh in its design. To cut it, you’ll need to use tin snips.
· Circular Saw
The circular saw is the most powerful and portable tool you’ll need in constructing a coop. Though you’ll also need a table saw, a jigsaw, a miter saw, or a handsaw for other cutting jobs, a circular straw is definitely a must-have.
· Speed Square
A speed square is important for marking straight lines and checking angles. It can also be used as a cutting straightedge.
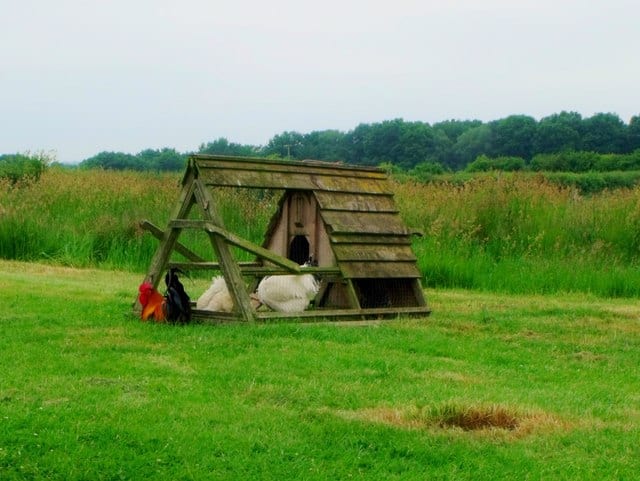
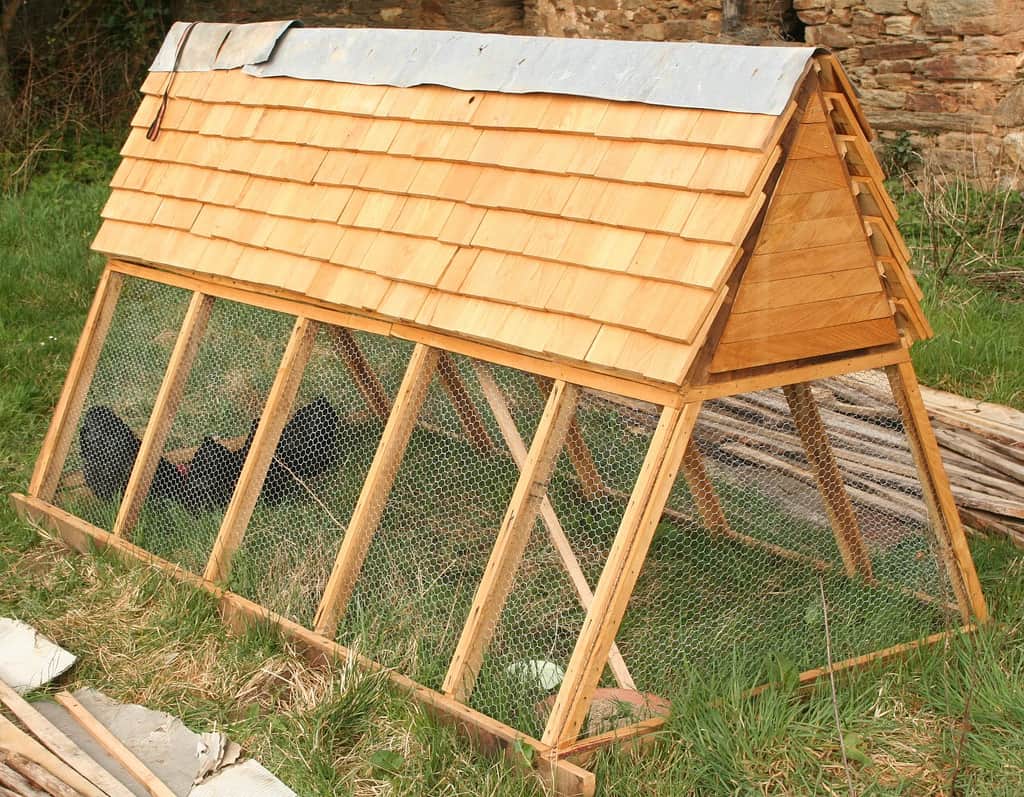
Build the Frame
The easiest and simplest approach in building chicken coops is to start with a rectangular frame. Once it is set, you can slowly add other components. But, when constructing the frame, always make sure to use a naturally rot-resistant timber like redwood or cedar because they do not contain heavy metals that can harm your poultry.
Decorate the Interior
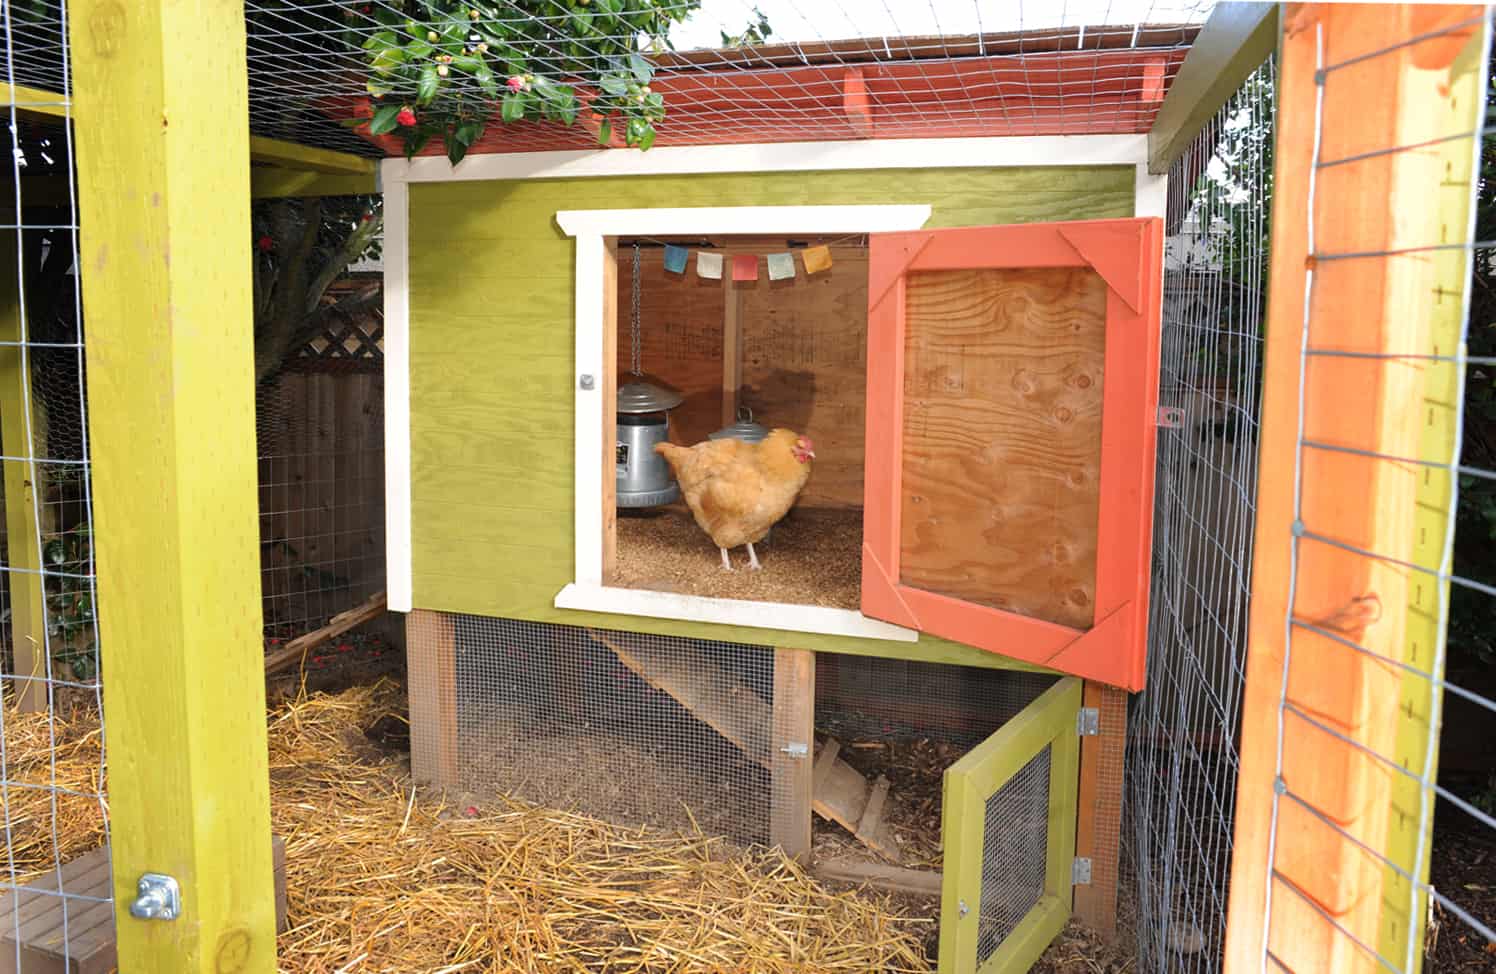
For the interior of the chicken coop, a thick layer of straw must be placed all over the ground so as to absorb bird droppings and moisture when it rains. Apart from that, there must also be a watering device so that the chickens can drink whenever they feel thirsty at random times of the day.
If the coop is built in a place that doesn’t receive enough shade, you can add a layer of cloth on the ceiling to make your birds feel comfortable.
Meanwhile, if you are raising egg-laying birds, then you have to construct nest boxes. For every four chickens, it has to be at least the size of a 12-inch square box. It must then be placed along the front wall, which is about 24 inches above the ground.
Although there are prefabricated nest boxes available on the market, many poultry raisers prefer to use plastic kitty litter containers for nests since they are easier to clean and remove.
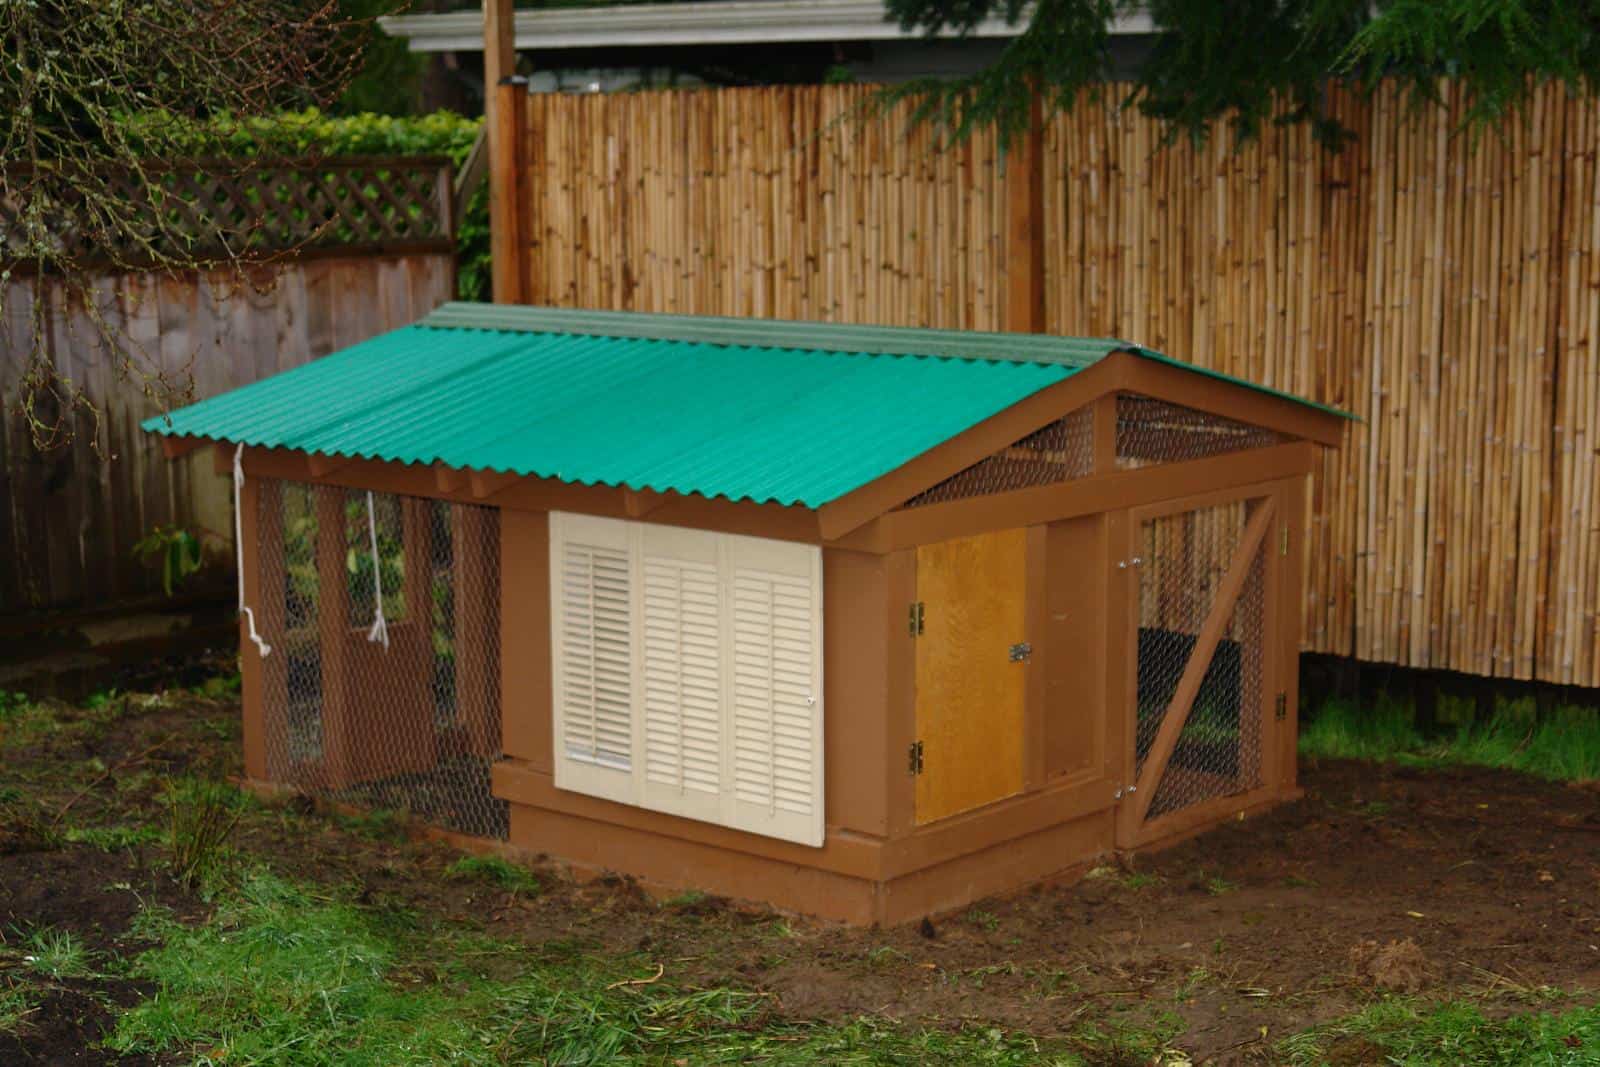
Complete the Exterior
After you’ve completed the interior, now is the time to complete the outer portion of the coop. You can add walls and roof to the chicken enclosure. As much as possible, you have to use weather-proof materials because they are safer and more fashionable.
You also have to consider the fact that for the construction of the walls, planning is vital. Be sure that once you’ve completed it, you’ll have ease of access for cleaning and collecting eggs. Also, ensure that every access point must be lockable to prevent raccoons from causing damage.
These are just the basics of building a functional and efficient coop. You can always add a bit of personal touch to somehow customize it according to your liking. Decorate it with any knick-knacks you can find at home. And for sure, you’ll be able to raise any breed of happy and healthy chickens.
Image Sources: [1] [2] [3] [4] [5] [6] [7]